Refining Your Marvel Legends: Practical Steps for Customizing Action Figures

What You'll Discover About Customizing Your Figures
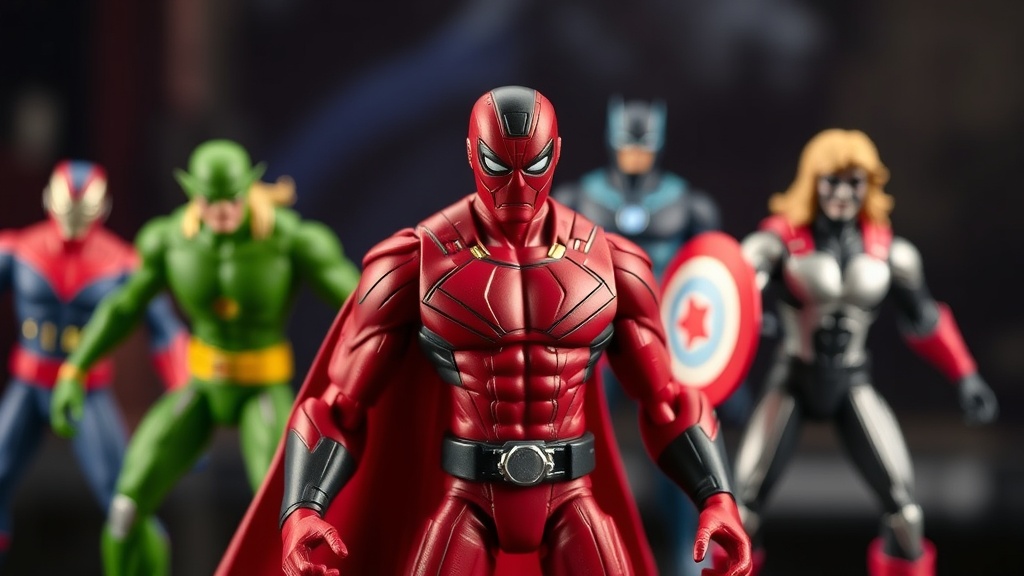
Collecting Marvel Legends action figures offers an exciting journey into the vast Marvel universe, bringing iconic characters to life right on your shelf. Yet, for many enthusiasts, the desire to go beyond factory-standard poses or paint applications is strong. Customizing your Marvel Legends figures allows for a level of personalization and uniqueness that off-the-shelf items just can't match. It’s about making a figure truly yours—whether that means adding battle damage, altering a costume detail, or even creating a character that Hasbro hasn't released yet. This guide will walk you through the practical aspects of figure customization, from essential tools and techniques to safe handling and finishing touches, ensuring your personalized figures look their best and stand the test of time.
Understanding the fundamental methods for modifying these figures opens up a world of creative possibilities. We'll explore how to approach customization with confidence, focusing on clear steps and reliable practices. The goal isn't just to change a figure, but to enhance it in a way that respects its original design while injecting your unique vision. You'll learn about material compatibility, proper application of paint, and how to create durable modifications that integrate seamlessly. Prepare to transform your collection into something even more extraordinary.
What Tools Do You Truly Need for Customizing Marvel Legends?
Diving into figure customization doesn't require an overwhelming array of specialized tools, but having the right basic kit will make a significant difference in your results and overall experience. Think of it as building a workshop, piece by piece, as your skills and projects evolve. Start with these fundamentals, and you'll be well-equipped for most customization tasks.
- Precision Knives and Blades: An X-Acto knife or a craft knife with a supply of fresh, sharp blades is indispensable for trimming flash, shaving down plastic, or cutting finer details. Safety is key here—always cut away from yourself and keep fingers clear.
- Sanding Tools: A variety of sanding sticks or fine-grit sandpaper (from 400 to 2000 grit) helps smooth out sculpted areas, remove seam lines, or prep surfaces for paint. Emery boards (nail files) can also work in a pinch for small areas.
- Paints: Acrylic paints are the go-to for action figure customization. Brands like Vallejo, Citadel, or Tamiya offer a wide range of colors specifically designed for model painting, providing good adhesion and fine pigments. A basic set of primary colors plus black and white will let you mix almost any shade. Always opt for paints that are non-toxic and water-soluble for easier cleanup.
- Brushes: Invest in a few good quality synthetic brushes of various sizes—a fine detail brush (000 or 00), a small round brush (size 1 or 2), and a flat brush for base coating. Proper brush care extends their life significantly.
- Sealants: A matte or satin clear coat sealant (like Vallejo Mecha Color Matte Varnish or Mr. Super Clear) protects your paintwork from chipping and wear. Always apply in thin, even layers in a well-ventilated area.
- Adhesives: Super glue (cyanoacrylate) is useful for small bonds, while a stronger plastic cement might be needed for more permanent alterations. Consider a two-part epoxy for structural repairs or adding sculpted elements.
- Sculpting Putty: For adding new details, filling gaps, or re-sculpting parts, an epoxy putty like Milliput or Aves Apoxie Sculpt is excellent. These putties are easy to work with when wet, cure hard, and can be sanded and painted.
- Protective Gear: A cutting mat protects your work surface, and—most importantly—a respirator or dust mask is crucial when sanding or using aerosol sealants. Good ventilation is non-negotiable.
Don't feel pressured to buy everything at once. Start with a few figures you're comfortable experimenting on and expand your toolkit as you tackle more complex projects. Quality over quantity always applies to tools; well-maintained, inexpensive tools often outperform neglected, expensive ones.
How Can You Safely Disassemble and Modify Figures?
Before you can paint or sculpt, you often need to take the figure apart. Disassembly might seem daunting, but it's a straightforward process once you understand the common construction methods of Marvel Legends figures. Most joints and parts are held together by friction or simple pegs, and heat is your best friend here.
- Heat the Joints: The most common method involves submerging the figure's joints (or the entire figure) in hot, not boiling, water for a few minutes. Alternatively, a hairdryer or heat gun on a low setting can be used, but exercise caution to avoid melting the plastic. Heat softens the plastic, making it more pliable and easier to separate without breakage.
- Gentle Separation: Once heated, gently twist and pull apart the desired limbs or torso halves. For stubborn joints, a small flat-head screwdriver can be carefully wedged into seams to assist, but always be mindful of cracking the plastic. If a joint feels too resistant, reheat it.
- Pin Removal: Some parts are held by pins. If you need to remove a pin (e.g., in a double-jointed elbow), heat the area and use a small pair of pliers or a pin vice with an appropriate drill bit to carefully push or drill the pin out. This step requires patience and precision.
- Modifying Parts: With parts separated, you can begin your modifications. Use your precision knife to carefully shave down unwanted details or to create new textures. For adding bulk, sculpting putty can be applied, molded into shape, and allowed to cure. Remember that thin layers cure better and are easier to manage than one thick application. For filling gaps, a bit of putty or even super glue mixed with baking soda can create a strong filler that can then be sanded smooth.
Always work slowly and methodically. It's easier to remove a little more plastic than to try and add it back. Test fit parts frequently as you modify them to ensure everything aligns correctly before final assembly.
What Are the Best Painting Practices for Durable Finishes?
Painting is where your figure truly comes to life. Achieving a factory-like finish or a unique aesthetic requires proper technique, patience, and the right materials. Durability is a key concern here—no one wants their custom paint job to chip or scratch with minimal handling.
- Preparation is Key: Before any paint touches the plastic, ensure your figure is clean and free of oils or dust. A gentle wash with dish soap and water, followed by a thorough rinse and air dry, is usually sufficient. For repaints, any existing paint might need to be carefully removed using isopropyl alcohol or a specialized paint stripper like